
How to enable and configure junk mail filtering in Apple Mail
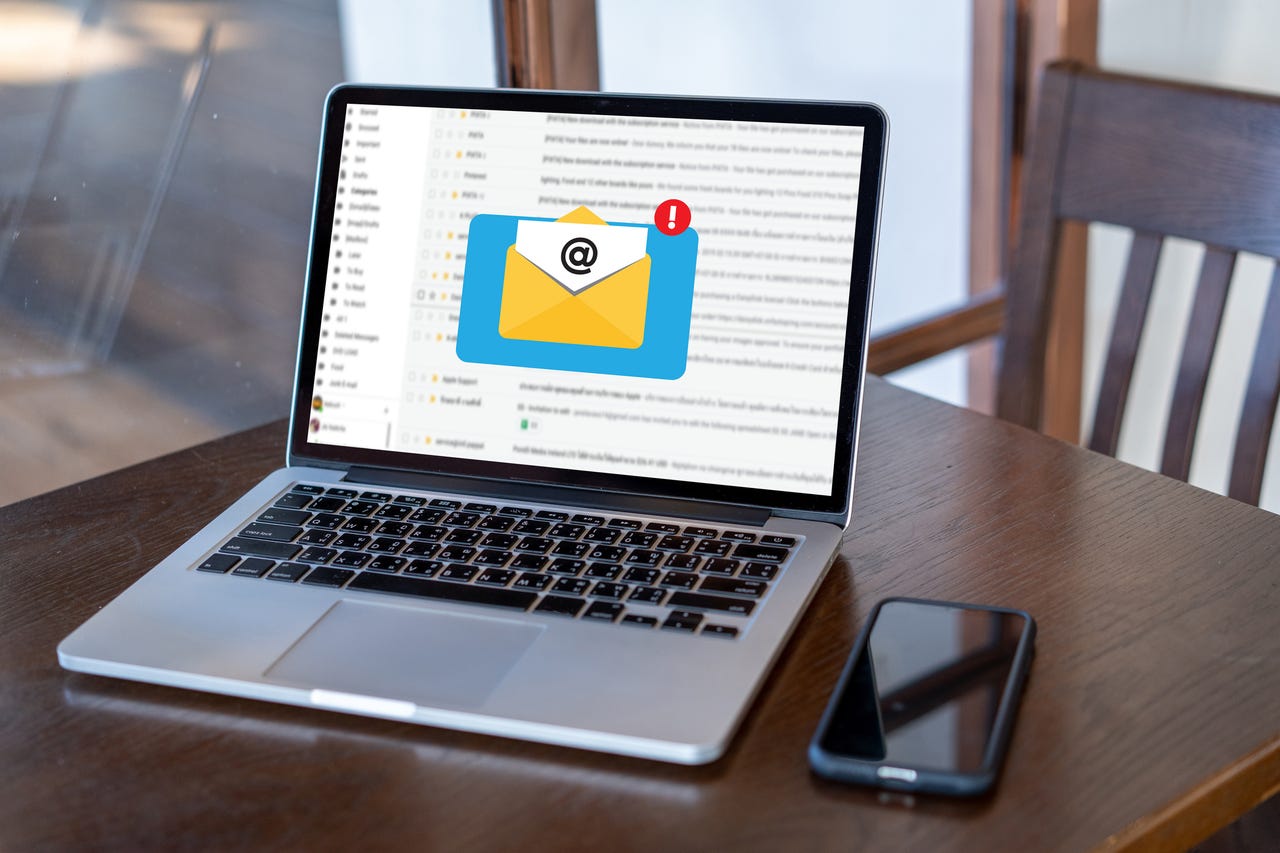
My various inboxes are constantly bombarded with emails I have zero interest in reading. Part of the problem is that spammers have gotten really good at circumventing spam filters. But another issue is that so many email clients do not enable junk filters out of the box. For anyone who suffers through the usual deluge of junk email, that's a problem.
Sure, it's not hard to just delete every irrelevant, offensive, or eye-roll-inducing email that comes along. The problem is, when such a large percentage of your email is junk, you might accidentally (and regularly) delete something that's actually important.
Also: How to use Apple Mail Redirect (and when not to)
Popular now
Ergo… junk mail systems.
Because Apple Mail on MacOS is one of those clients that doesn't enable junk filtering out of the box, I'm going to show you how to do just that. I'll also show you how to configure it such that junk mail will also automatically be moved to the Junk folder, where you can then comb through it (if necessary) to ensure nothing of importance was accidentally tagged as junk.
Enabling junk mail filtering in Apple Mail (MacOS)
What you'll need: The only thing you'll need is a MacOS device with Apple Mail configured for at least one email account.
The first thing to do is open Apple Mail and then click Mail > Settings.
Accessing the Apple Mail Settings window from the menu bar. Screenshot by Jack Wallen/ZDNET
Enabling junk mail filtering in Apple Mail on MacOS. Screenshot by Jack Wallen/ZDNET
You will probably want to enable Move it to the Junk mailbox under When junk mail arrives. If you do that, I would highly recommend you enable the following:
- Sender of message is in my Contacts.
- Sender of message is in my Previous Recipients.
- Message is addressed using my full name.
- Trust junk mail headers in messages.
The reason you want to enable the above options is to help prevent trusted emails from being marked as Junk.
Popular now
Also: How to quickly fix Apple Mail when it's not working
Without these options enabled, it's very likely Mail will mark emails as Junk that would otherwise be trusted.
A handy tip
Now that you have junk mail enabled and configured, here's a tip that will save you from a lot of hairpulling. Because we've configured the junk mail filtering to skip an email if the sender of a message is in your contacts, you'll want to make sure to add legitimate senders to your list of contacts. Doing that is quite simple. Here's how.
1. Open an email
The first thing to do is open an email from a legitimate contact.
2. Add the sender to Contacts
With the email open, click on the sender's name and, from the drop-down, click Add to Contacts.
Also: How to block tracking pixels on Apple Mail
That action will add the sender to your contacts and guarantee any email from that person or organization will not be moved to the Junk folder.
You should make sure all legitimate senders are in your Contacts. Screenshot by Jack Wallen/ZDNET
And that, my friends, is all there is to enabling and configuring the junk mail filtering in Apple Mail on MacOS. Enjoy that refreshingly clean inbox.
