
Microsoft Teams is a powerful corporate chat, collaboration, and meeting application. Because it’s included with most Microsoft 365 and Office 365 business and enterprise subscriptions, many companies already use it as a primary way to keep their workforce — both in-office and remote — in touch.
Teams lets you set up multiple channels (discussion areas) for your team, share and store files, and conduct voice and video meetings. As part of Microsoft 365/Office 365, Teams integrates well with the family of Microsoft business apps and services that encompasses Excel, OneDrive, OneNote, Outlook, Planner, PowerPoint, SharePoint, and Word.
To get started using Teams in a business setting, see our Microsoft Teams cheat sheet. After you’ve gotten a handle on the basics, try the tips in this guide to get more out of this powerful collaboration tool.
This guide focuses on the Teams desktop app for Windows or Mac under a business subscription. There are also Teams mobile apps for Android and iOS, as well as a web app. But these apps emphasize chatting without a lot of the advanced features of their desktop counterparts. Likewise, a consumer version of Teams is available, but it doesn’t include all the features for business users covered in this story.
Also note that although this guide includes a few tips for video meetings, it focuses mainly on the chat and group collaboration features of Teams. To learn more about videoconferencing in Teams, see “11 best practices for Microsoft Teams video meetings” and “The 10 best new Microsoft Teams meeting features.”
Take control of the interface
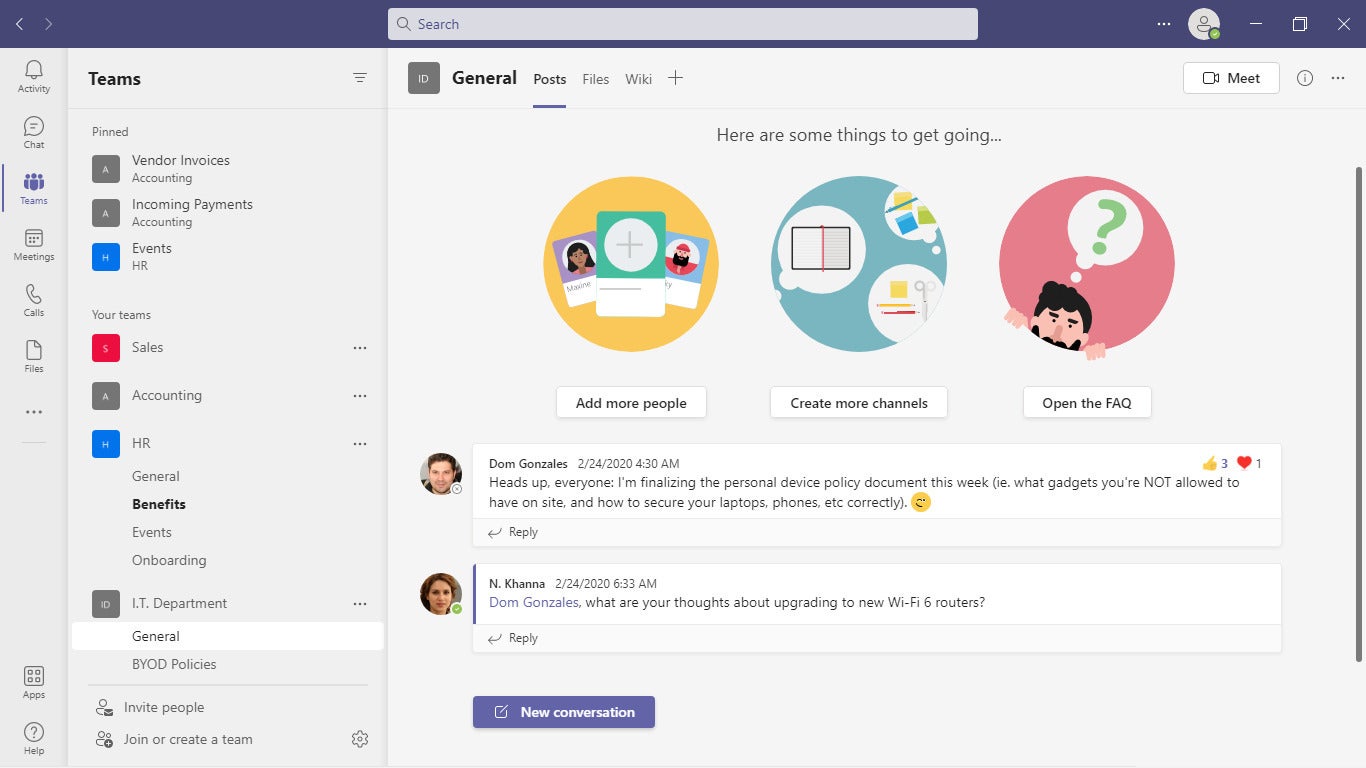
1. Organize your teams and channels.
In the sidebar at the left side of the app, click the Teams icon to open the Teams pane. You’ll see the teams that you’re a member of, with one or more channels below each team name.
By default, teams (and the channels below each team) appear in the order that you joined or created them. But as you use Microsoft Teams over time in your daily work, some teams and channels will become more important to you than others — and not necessarily in the order that the Teams app places them.
Pinning a channel moves it toward the top of the Teams pane for easy access. To do this, click the three-dot (More options) icon to the right of the channel name and select Pin from the menu that opens. (Do this process again to unpin a channel.)
 IDG
IDGPinning channels to the top of the Teams pane makes them more easily accessible. (Click image to enlarge it.)
To change the order of your pinned channels, click-and-hold a channel name and drag it up or down to where you’d like it to be in the list of pinned channels.
You can also do this to change the order of your teams: Click-and-hold a team name and drag it up or down to where you’d like to move it on the list.
2. Hide low-priority channels or teams.
You can tidy up your Teams workspace by hiding channels or teams that are not important to your work at the moment.
To hide a channel or team, click the three-dot icon to the right of its name, then click Hide from the menu that opens. (Note that you cannot hide the General channel for any team.)
To unhide a channel, look at the list of channels under a team name. At the end of this list is a link saying how many hidden channels that this team has; click this link to open a menu revealing the hidden channels. Move the pointer over the name of the channel that you want to unhide, and click the Show icon to the right.
To unhide a team, look or scroll down to the end of the list of your teams, where you’ll see a Hidden teams link. Click this to open the list of hidden teams. Click the three-dot icon to the right of a hidden team, then click Show at the top of the menu that opens.
3. Quickly find conversations that you’re a member of or messages that you’re tagged in.
In Teams, it’s easy to see all the conversations (message threads within a channel) and messages that you’re a part of at a glance.
At the top of the left sidebar, click the Activity icon. This opens the Feed pane to the right. To the right of the Feed pane title bar, right-click the Filter icon (three horizontal lines in a funnel shape) and select @ Mentions from the menu that opens. (Or type /mentions into the search bar at the top of the Teams app.) Conversations that you’re a member of, and messages that you’re tagged in, will be listed in the Feed pane.
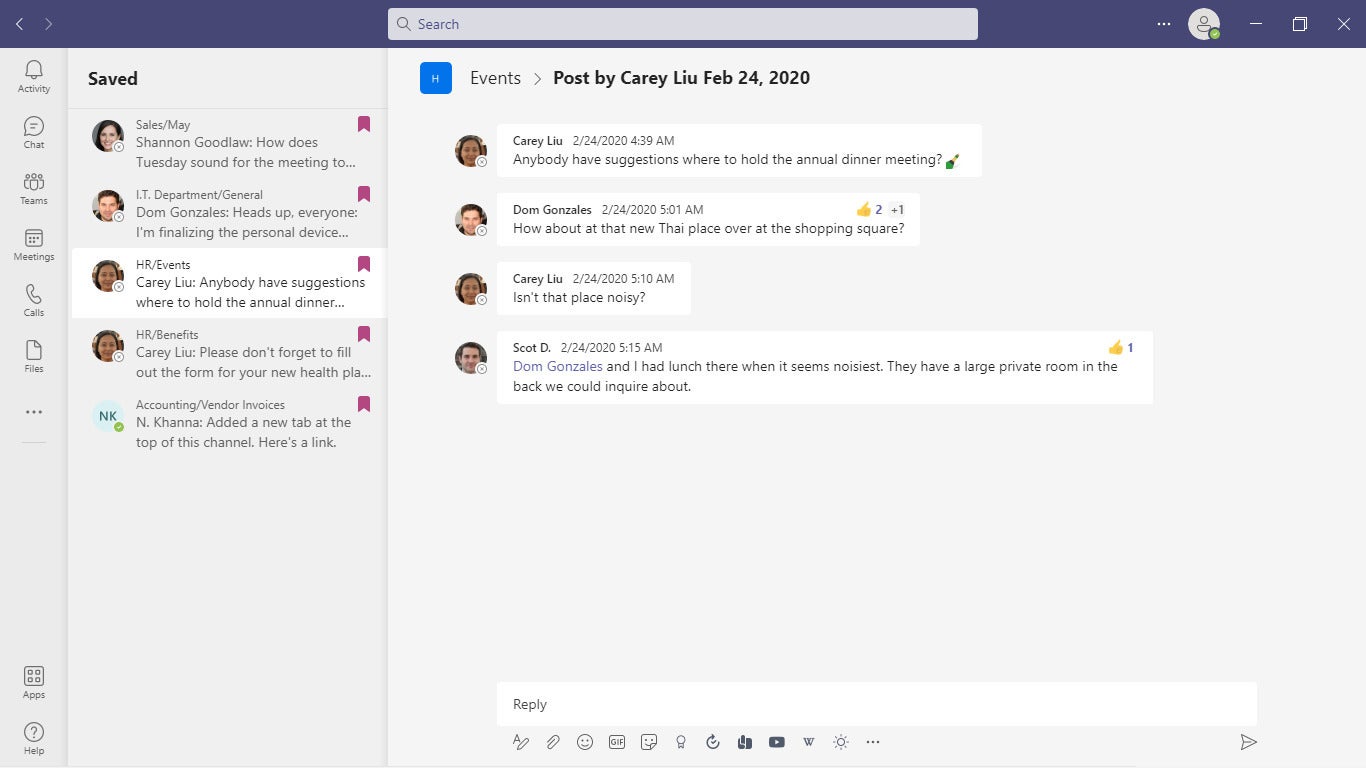
4. Save specific messages.
This trick can be handy if you want to compile a list of messages to catch up on or refer to later. Move the pointer to the upper-right of a message that you want to save, click the three-dot (More options) icon, and click Save this message from the menu that opens.
To see a list of your saved messages, click your profile headshot or icon at the upper right of the Teams app and click Saved from the menu that opens. (Or type /saved into the search bar at the top of the Teams desktop app.) The messages that you saved will appear in the Saved pane toward the left side of the Teams app.
 IDG
IDGSaving messages bookmarks them for easy access later. (Click image to enlarge it.)
Tip: It can be useful to save messages that have attached files (such as important documents that you need to look at later) without having to download the files.
Make conversations and messages stand out
5. Get someone’s attention.
Channels typically contain many conversations — and many messages within those conversations — so it can be easy to overlook a message. To make sure a specific person on your team sees a particular message, tag them as you write your message by typing @username. (Replace “username” with the person’s user name, of course.) Or: After you type @, a menu opens listing the names of people in your organization. Click a name on this list to tag them in your message.) Once you post the message, the person will get a notification as a prompt to read it and respond to it.
You can also use this @ function to send a direct message (a one-on-one message) to a team member. Inside the search box at the top of the Microsoft Teams desktop app, type @ and their name (or type @ and click their name from the list that opens). Type a short message in the search box and press Enter or click the right arrow at the right end of the search box.
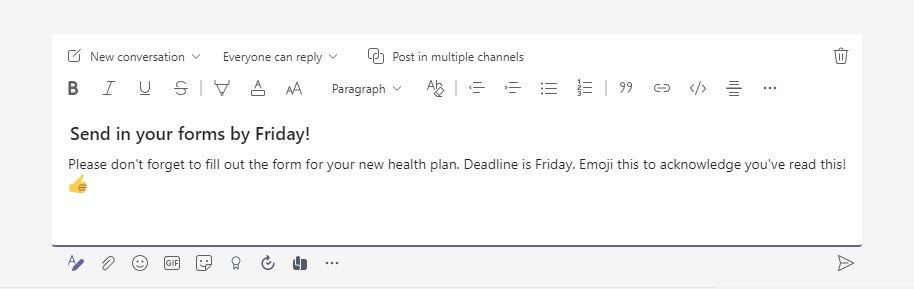
6. Title your conversations.
One way to help a conversation thread stand out among the other conversations in a channel is by giving it a title. Another plus: You can enter the title into the search box of the Teams desktop app to find the conversation later. You don’t have to title every conversation. It’s best to give titles to only the most important conversations that you want to track.
To add a title as you’re composing a new conversation: Click the Format icon (an “A” with a pencil) at the left end of the toolbar below the text entry field. The message composing window will expand up. On the line that says “Add a subject,” type in a title, then type your message below. Click the Send arrow at the bottom right of the message composing window to post your conversation with its new title to the channel.
 IDG
IDGTitling key messages can help them stand out and make them easier to find later. (Click image to enlarge it.)
You can also add a title to an existing conversation by moving the pointer to the upper right of the message, clicking the three-dot icon that appears, and clicking Edit from the menu that opens. Click the Format icon at the left end of the toolbar below the text entry field. On the line that says “Add a subject,” type in a title. Click the checkmark at the bottom right of the message composing window to post your conversation with its new title back to the channel.
7. Control the conversation.
The expanded message composing window that appears when you click the Format icon has more neat tricks up its sleeve.
If you want to make a conversation really stand out, you can turn it into an announcement. In the expanded message formatting window, click the New conversation drop-down at the top left and select Announcement. A field appears where you can type a large headline for your post and optionally include a background image or colored background to make it stand out even more.
Tip: By default, everyone in a channel can reply to conversations, but you might not want that for an announcement. If you click the Everyone can reply drop-down at the top of the message composing window, you can select You and moderators can reply to limit responses to only these people.
If you want your conversation to appear in more than one channel, select Post in multiple channels, click the Select channels button, and on the panel that opens, check the boxes next to the channels you want to post your conversation to.
8. Mark a message as important.
One last option for drawing attention to a message in a channel conversation is to mark it as important. Once you post it, Teams will immediately alert the other people in the chat to read your message. They will be reminded to do so every two minutes for 20 minutes. Obviously, you should only use this function for a truly urgent matter.
To mark a message important, click the Format icon. The message composing window will expand up. At the right end of the text formatting toolbar, click the three-dot (More options) icon, and from the menu that opens select Mark as important.
All four of these options should be used sparingly, only for conversations and messages of top importance.
Chat more effectively
9. Reply to a specific message.
While conversations in team channels are accessible to all members of that team, private chats take place between two or more individuals and are accessible by clicking the Chat icon in the left sidebar.
In a group chat, all messages appear in the order they were posted, no matter who posted them. If you see an earlier message you want to reply to directly, move the mouse pointer over that message. A toolbar of emoticons appears; click the three-dot (More options) icon and select Reply on the small menu that opens. Your reply will show the message you’re replying to for context.
10. Pin a message.
You can pin a message to the top of the chat window, bringing it to the attention of others in the chat. Move the mouse pointer over the message you want to pin. The emoticons toolbar appears; click the three-dot icon and select Pin on the small menu that opens.
11. Start a chat in a new window.
Normally, when you start a new chat, it opens in the main window of the Teams desktop app. You can change this so that a new chat opens in a separate window: At the top right of the Teams app, click the three-dot (Settings and more) icon and click Settings from the menu that opens. Under “Open new chat in,” click New window.
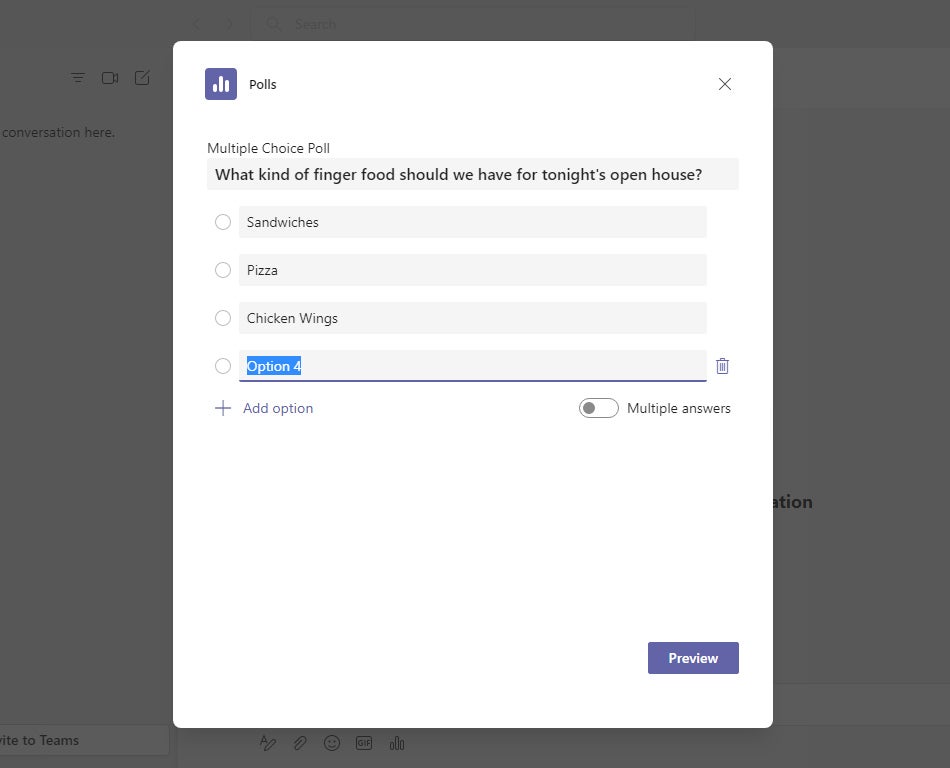
12. Poll your colleagues.
This feature is currently available only when your Teams app is switched to your personal account. Open the chat where you want to create the poll. Below the box where you type in a message, click the polls icon (represented as three vertical bars). On the panel that opens, type in your poll question and answer choices.
By clicking Add option, you can add up to six answer choices. If you want to allow people to select more than once answer choice, click the switch next to Multiple answers.
Click the Save button to see a preview of your poll. On this preview panel, you can click the Edit button to make changes to your poll. Otherwise, click the Send button. The people in this chat will see this poll and be able to respond to it.
 IDG
IDGPosting a poll is a quick way to get feedback from others in a chat. (Click image to enlarge it.)
Manage notifications
13. Follow important channels.
If you want to be updated of your colleagues’ latest activities in specific channels, open the Teams pane and click a team name to see its channels. Move the pointer over the name of the channel you want to be updated on, click the three-dot (More options) icon to the right, select Channel notifications, and click All activity from the menu that opens.
This menu lists another option, Custom. When you click this, the “Channel notification settings” panel opens. Here you can set if you want to be notified whenever a new message is posted to this channel and/or whenever the channel is mentioned by someone in Teams. If you turn either notification on, you can specify if you want to be notified through your Activity pane feed and as a banner, or only through your Activity pane feed.
14. Adjust other notifications.
By default, Teams sends you notifications that update you on several activities — @mentions, new messages, changes to team membership statuses, and more — through various methods such as banner alerts, your Activity pane feed, and email. To adjust or change what you are notified about:
Click your profile pic or initials at the upper right of the Teams desktop app, and then click Manage account. On the Settings panel that opens, click Notifications.
This switches to an extensive list of activities that you can be notified about, letting you choose what kind of notification you want to receive for each (banner and email, banner only, feed only, or off).
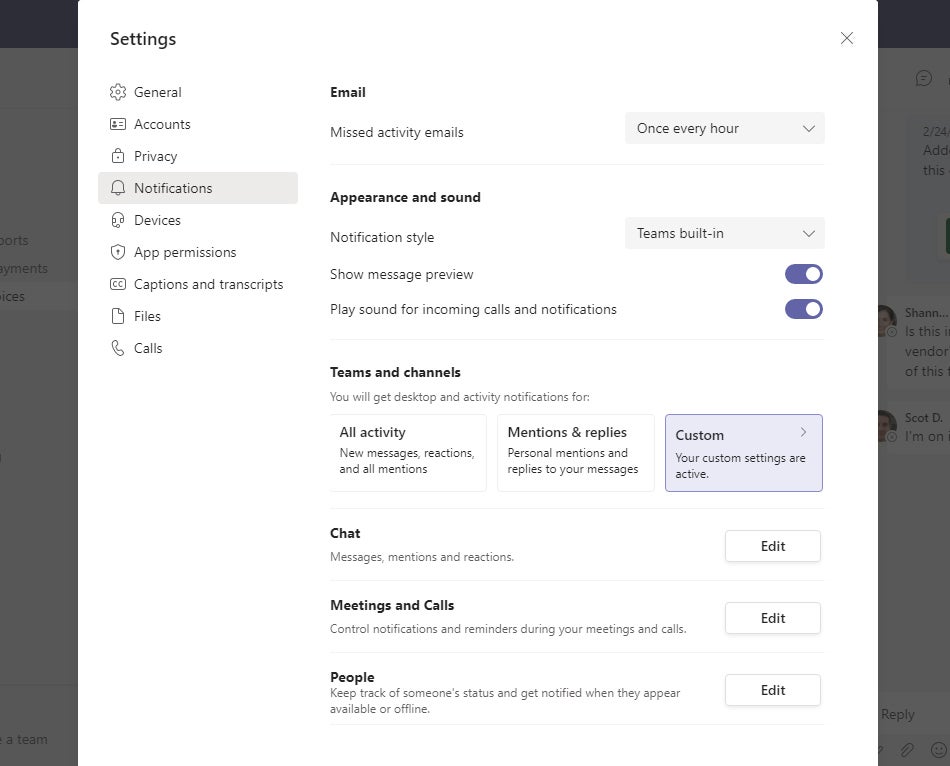 IDG
IDGYou can cut down on distractions by ratcheting down Teams’ notifications. (Click image to enlarge it.)
You may need to experiment with the various settings to find the right balance of notifications that works best for you. But once you’ve figured it out, you’ll be glad you made the adjustments.
